Saturday, April 21, 2012

Kind Notice

If you people visiting my blog likes it, please become one of my followers, third icon in my side bar, for those who do not know how.


Thanks
-N-

Ribbon Braid Bracelet


Hey there! Today I want to share how I made my ribbon braid bracelet with you.
Enjoy!


1. Two pieces of ribbons - different colours(better) - 1m each
2. A matching button
3.Matching thread and needle
4.Beads or other decorative stuffs. -Optional
5.Scissors (not in the picture)
6.Fabric glue (not in the picture) -Optional if you do not add beads.

Follow the instructions on the pictures. I've put small notes where I missed some instructions.


Do not pull too tightly on the white ribbon.

Pull tightly enough to know the exact size of the hole for the button.

Make neat stitches.

Make sure you cut only the excess ribbons and cut them near to the lines.

Stitch the button where you made the 1st stitch at Step 1.


Here is the how the bracelet looks like at the end.
You can put beads to cover the stitches also for a better look.


If you need more instructions to make the braid here is a link for you to better understand:


Friday, April 20, 2012

Fabric Flower

If you like fabric flowers like me..
Here's a tutorial you'll surely like as I personally,enjoyed it a lot.

I'm showing you my result after trying and the tutorial is found there.
Have a look it's nice!


Nash Wrist Strap

These last days I've been wondering about doing an innovative craft thing..
So as I needed to buy a wrist strap for my phone, I decided to try make my own
and see if it turns out fine. So I started gathering what I needed. And that's how I end up doing this tutorial.
Enjoy!
-N-


What you'll need:
1.Fabric glue (optional)
2. Two buttons
3.Needle and matching thread
4.Ribbon (preferably not soft) - about 30 cm
5.Sequins or other decorations
6.Hanging string
7.Pop tab

2. It should look like this.
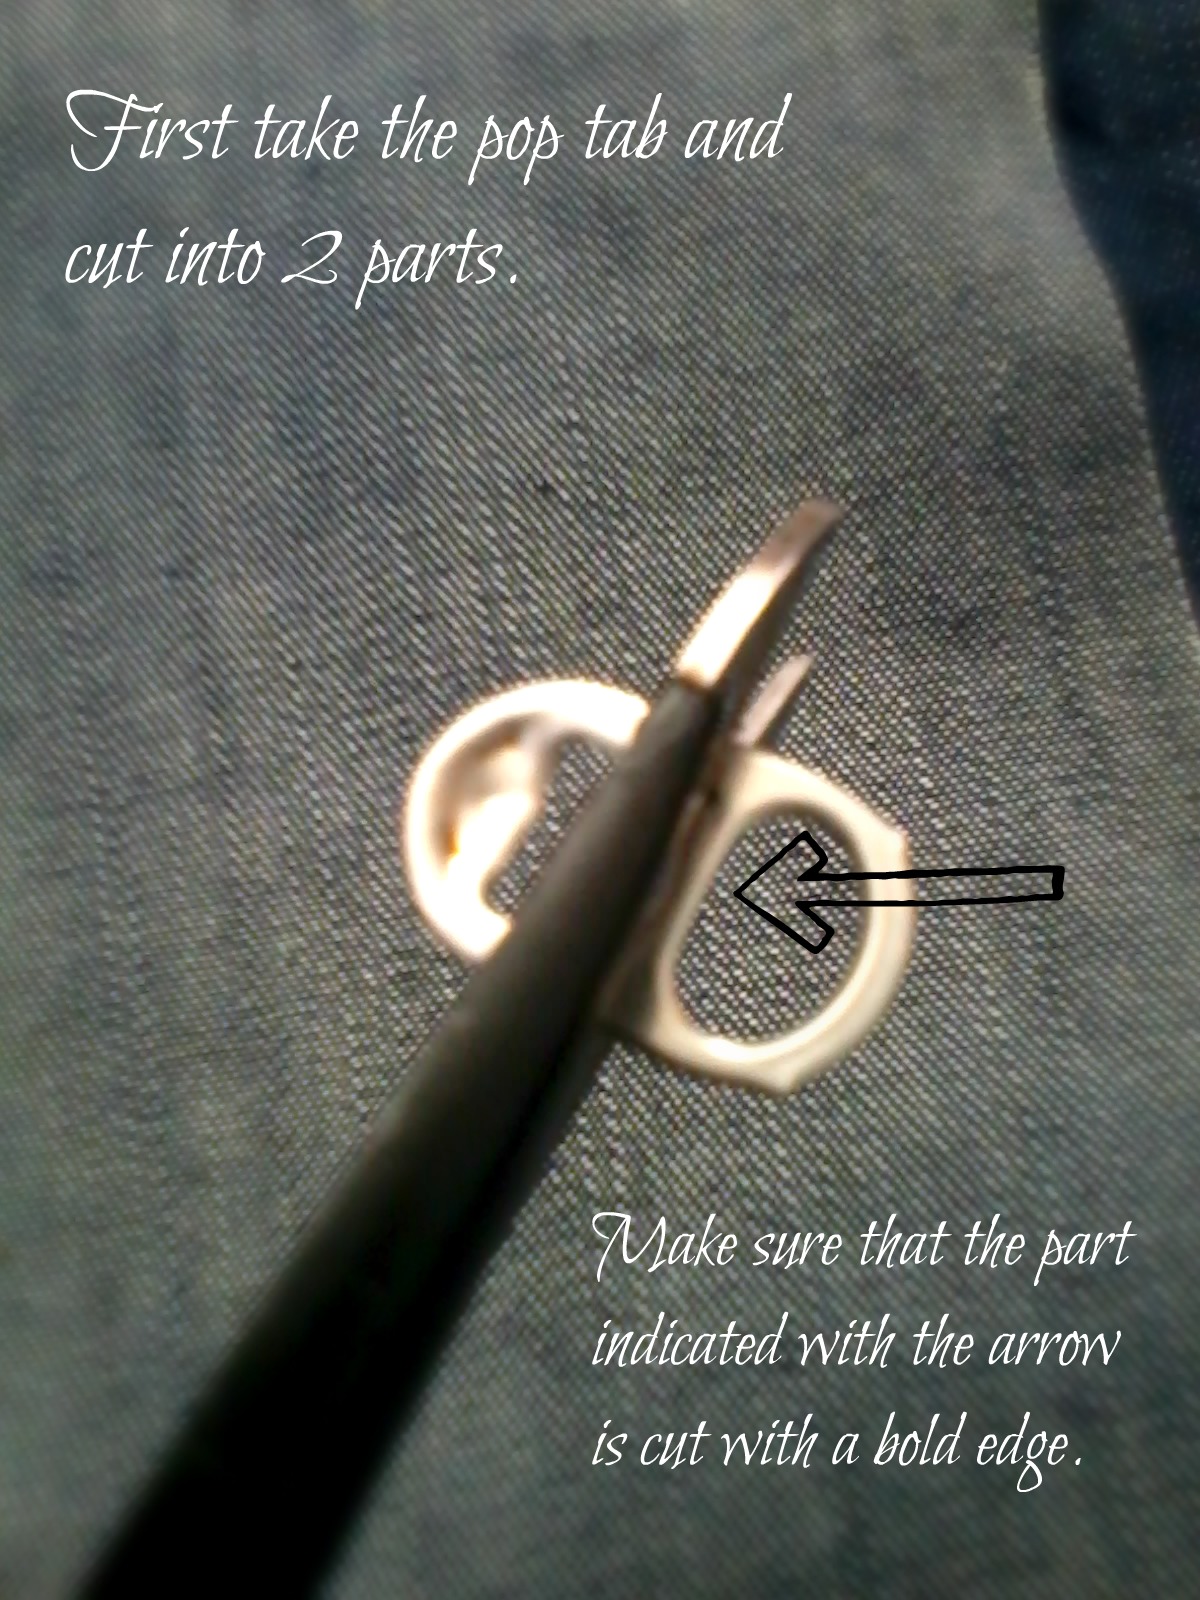
1.Cut pop tab into 2.


3.Place the ribbon as shown.
4.Stitch button
5.After stitching it should look like this.
6.After stitching the 2 buttons here is how it should be.
7.Glue the 2 parts indicated by the arrows or stitch them
together (better way).

8.After gluing or stitching
9.Add the hanging string to the pop tab.


10.Add sequins or other decorative accessories.

The final Result